The Logitech MX Master 3 is a fantastic mouse for creatives. The endless options the extra buttons give you make it perfect for work inside all of the Adobe Creative Applications. The combination of great hard- and software make the Logitech MX Master 3 an easy mouse to recommend.
If you already own the previous model and it still works I couldn’t say if you should upgrade. But if like me your first generation is slowly failing, the latest and greatest is definitely worth it.
Pricing
At around $100 the Logitech MX Master 3 definitely doesn’t come in cheap. But when we compare it to some of the more popular gaming mice, it isn’t necessarily expensive either and yet it offers so much more for creatives. I’d say that it’s probably the least you will want to pay for a mouse you’re going to end up using multiple hours a day.
However, with this mouse, you aren’t just paying for the hardware. I’ll be going through the software, and tell you why that might be the MX Master 3’s best feature after I’ve covered everything else.
MX Master and MX Master 3 compared
Before switching to the Logitech MX Master 3 I was already using the original Logitech MX Master. It lasted me for quite a few years but eventually, the scroll wheel started acting up and it made working in Premiere Pro unbearable.
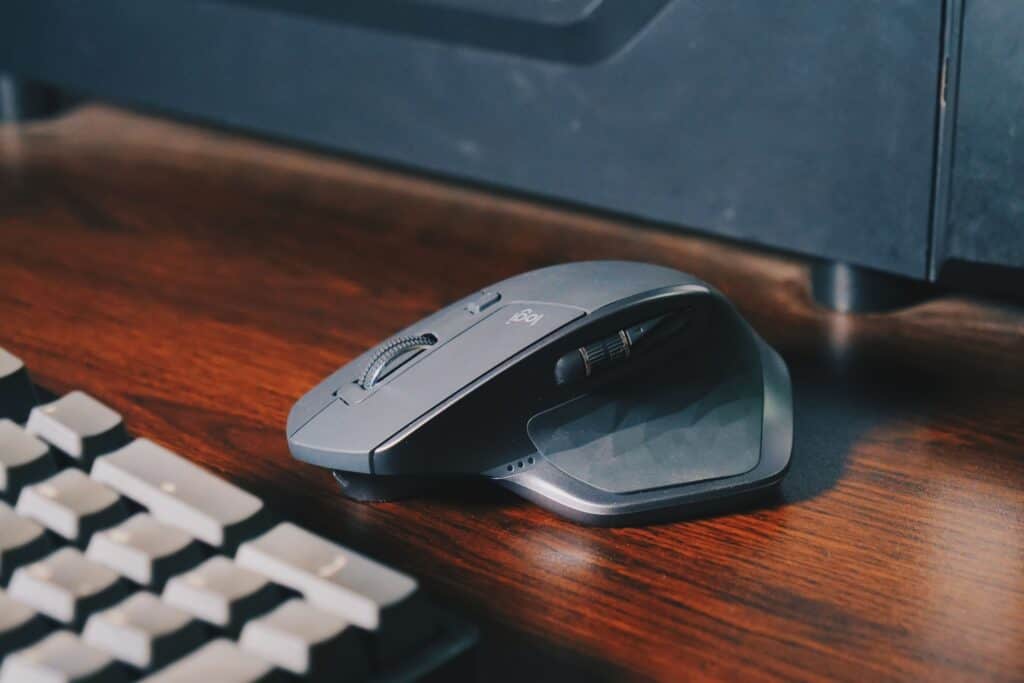
The newer version doesn’t feel all too different from the original at first. It is a bit smaller and narrower but I don’t think I could tell you which one I prefer in a blind test. Although the design has changed a bit I wouldn’t describe it as a radical change. It’s more of a refinement.
It has the same number of buttons and the same ergonomic grip which is sculpted to fit the shape of a hand. It is the shape of the MX Master 3 and how nicely it fits into the hand which makes it a joy to use while editing hours on end. Sadly for left-handed users, the MX Master 3 is not ambidextrous and there is no lefty version available.
MX Master 3 Buttons and Wheels
The Logitech MX Master 3 has the standard left and right-click buttons with a scroll wheel between them. The buttons feel nice, sound clicky, and provide good enough force to avoid any accidental clicks while not being too stiff at the same time.
Using the button located beneath the MX Master 3’s scroll-wheel, you can set it to be either ratcheted, which means that you can feel the individual steps, or free-flowing. And if you scroll with enough force it will enter the so-called free spin mode which allows you to scroll through large spreadsheets or long websites in an instant.
That function appears to be one of the main selling points of the MX Master 3 but I don’t actually find myself using it all too often during everyday use. It only really comes in handy when I’m done reading an article and I’m too lazy to press the home key on my keyboard.
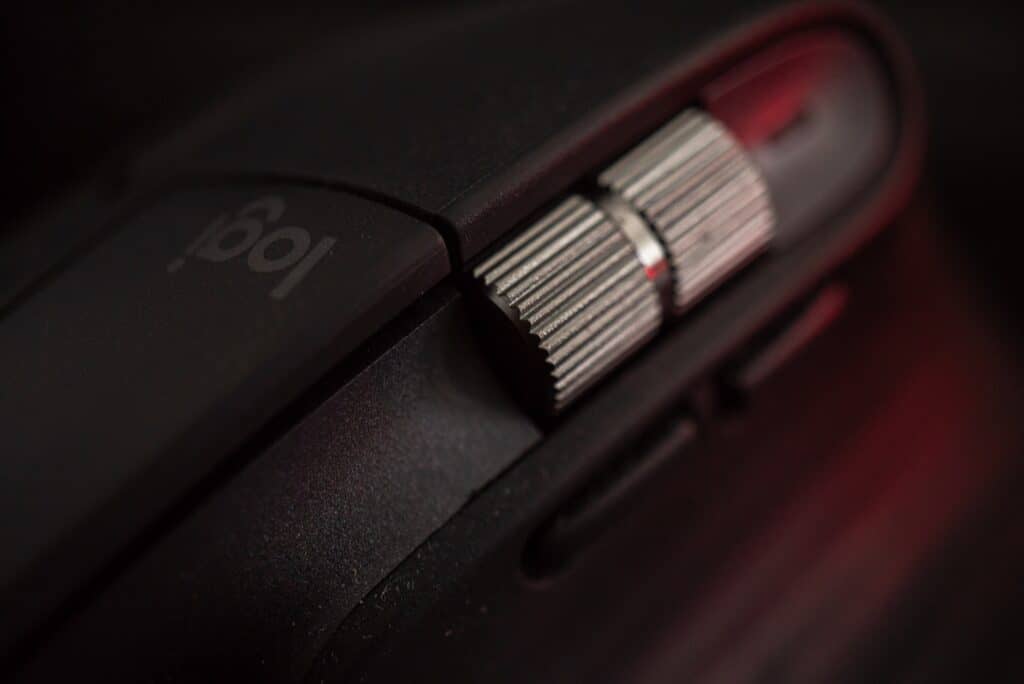
Speaking of the scroll wheel, it has been massively improved. I used to think the original model had the perfect scroll wheel. It turns out I thought that because I hadn’t tried the one on the MX Master 3 yet. It’s really smooth and quiet but still provides solid ratcheting. The individual steps are easy enough to switch between but there’s no in-between zone. You know you’ve scrolled a step (or haven’t) every single time.
extra buttons and thumb wheel
Then there are the extra buttons and this is where the Logitech MX Master 3 gets really interesting, especially for creatives. There are two buttons, which Logitech calls the forward and back buttons and, considering their location, that makes perfect sense.
Then there’s the crown jewel, the thumb wheel. Both buttons and the additional wheel are located in reach of, well, your thumb. Plus the whole area your thumb sits on is one big button which Logitech calls the gesture button.
As was the case on the MX Master, the buttons on the MX Master 3 are no longer located behind the thumb wheel, which made especially the upper one difficult to hit. Instead, they are now located below the thumbwheel and are easily accessible. They could be a bit clickier in my opinion as they still feel a tad too mushy. Ironically the older buttons feel a bit better in my opinion.
The gesture button is another big improvement as it doesn’t feel quite as mushy which makes me use it more often. On the MX Master 3, you get a solid click when the button is pressed and you can always be certain you have pressed it.
Speaking of the gesture button, I use mine in the default configuration. A single click will show me all of my open windows in the task few. By holding down the button and dragging the mouse to the left or to the right I can switch between virtual desktops. But within the Logitech Options software, you can change the gestures to do pretty much anything. You could use it for media controls, app navigation, and zooming and rotating to just name a few.
Logitech options
Using Logitech Options, you can set any of the Logitech MX Master 3‘s extra buttons and thumbwheel to do anything you want on a per-app basis. And that also extends to the main scroll wheel click and the button located beneath it.
When I’m in Premiere Pro, the thumbwheel will scroll through my timeline. In Chrome it will switch between tabs, and in Photoshop it will adjust my brush size and clicking the scroll wheel allows me to pan around an image.
And the software offers preconfigured settings for a whole host of applications. In most cases, I found myself just sticking to whatever the default setting was. Logitech really does a good job with setting up the default profiles.
Lightroom Classic, unfortunately, isn’t one of the pre-configured applications. I did have to tinker a bit to get the thumb-wheel working the way I wanted. Luckily for you, I have shared my full configuration of the MX Master 3 for Lightroom Classic, in an earlier article.
USB Type-C
With some manufacturers taking ages to implement USB Type-C charging (I’m looking at you, Garmin) I’m really happy Logitech went with the newer and all-round better standard instead of a Micro B port.
This mouse does support quick charge, and you can expect to get around three hours of use from a one minute charge and 70 days from a full charge. The battery life on the MX Master 3 hasn’t really changed much from the previous models but 70 days still seem pretty amazing for a wireless mouse with this many features.
Bluetooth or Dongle
The mouse connects to a computer using either a dongle or Bluetooth connection. I’d definitely recommend using the dongle because Bluetooth can be a bit flaky at times especially if you’re using other Bluetooth devices like earphones and smartwatches. The MX Master 3 can switch between three different devices using the button located on the underside.
Logitech MX Master 3
Ultra-fast magspeed scrolling
Comfort shape and intuitive controls
App-specific customizations using Logitech Options
Logitech MX Keys – For Mac
Spherically dished keys
A keyboard crafted for comfort, precision, and remarkable stability
Backlit keys
Logitech MX Keys – For PC
Spherically dished keys
A keyboard crafted for comfort, precision, and remarkable stability
Backlit keys
Logitech Craft Wireless Keyboard
Touch the Crown to instantly access context specific functions
A keyboard crafted for comfort, precision, and remarkable stability
Backlit keys