Ever since GenerateBlocks went stable I have been updating past articles to use its four blocks. However, I wasn’t looking forward to manually inserting all the info that was previously displayed in tables, so I came up with a plan to reduce my workload.
What if I could use GenerateBlocks in conjunction with custom fields created with Advanced Custom Fields and reusable blocks to speed things up a bit? My plan worked and in this post, I will explain how I did it.
Requirements
If you haven’t yet tried GenerateBlocks I highly suggest you start out by going through this post I wrote earlier. To be able to follow this guide you will obviously need GenerateBlocks installed alongside the WordPress plugin Advanced Custom Fields. Both can be found for free in the WordPress plugins. This guide is not dependent on GeneratePress and works with any WordPress website that uses the block editor.
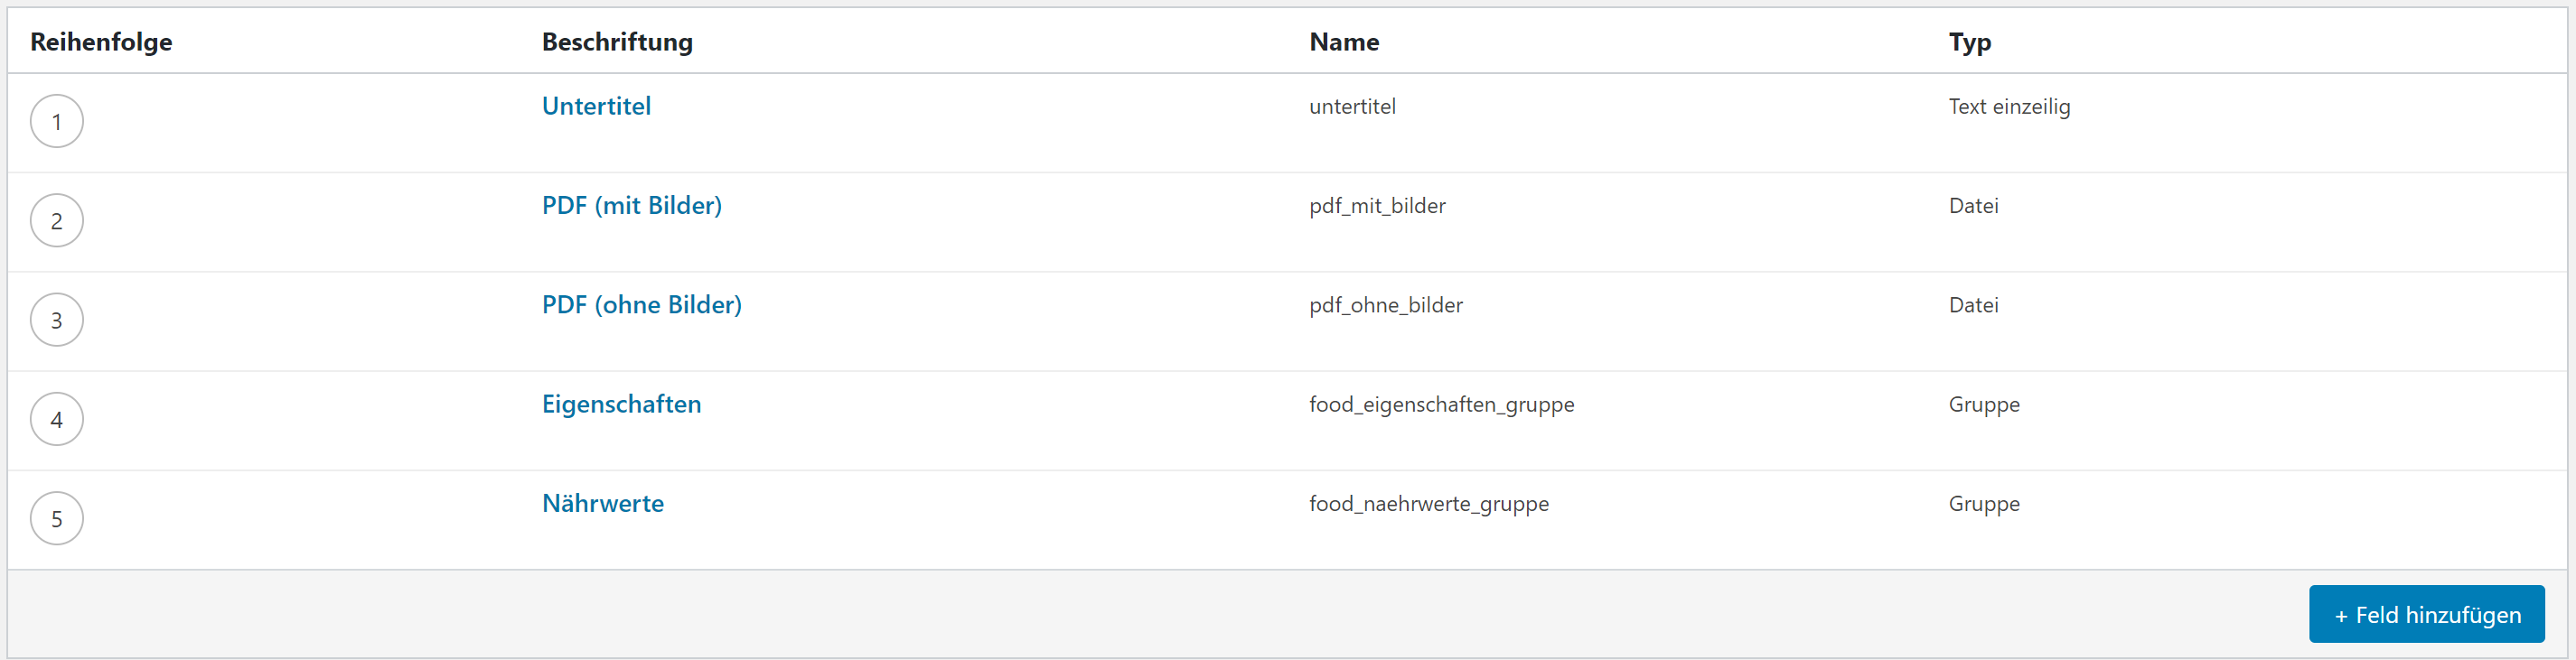
Eigenschaften and Nährwerte are groups.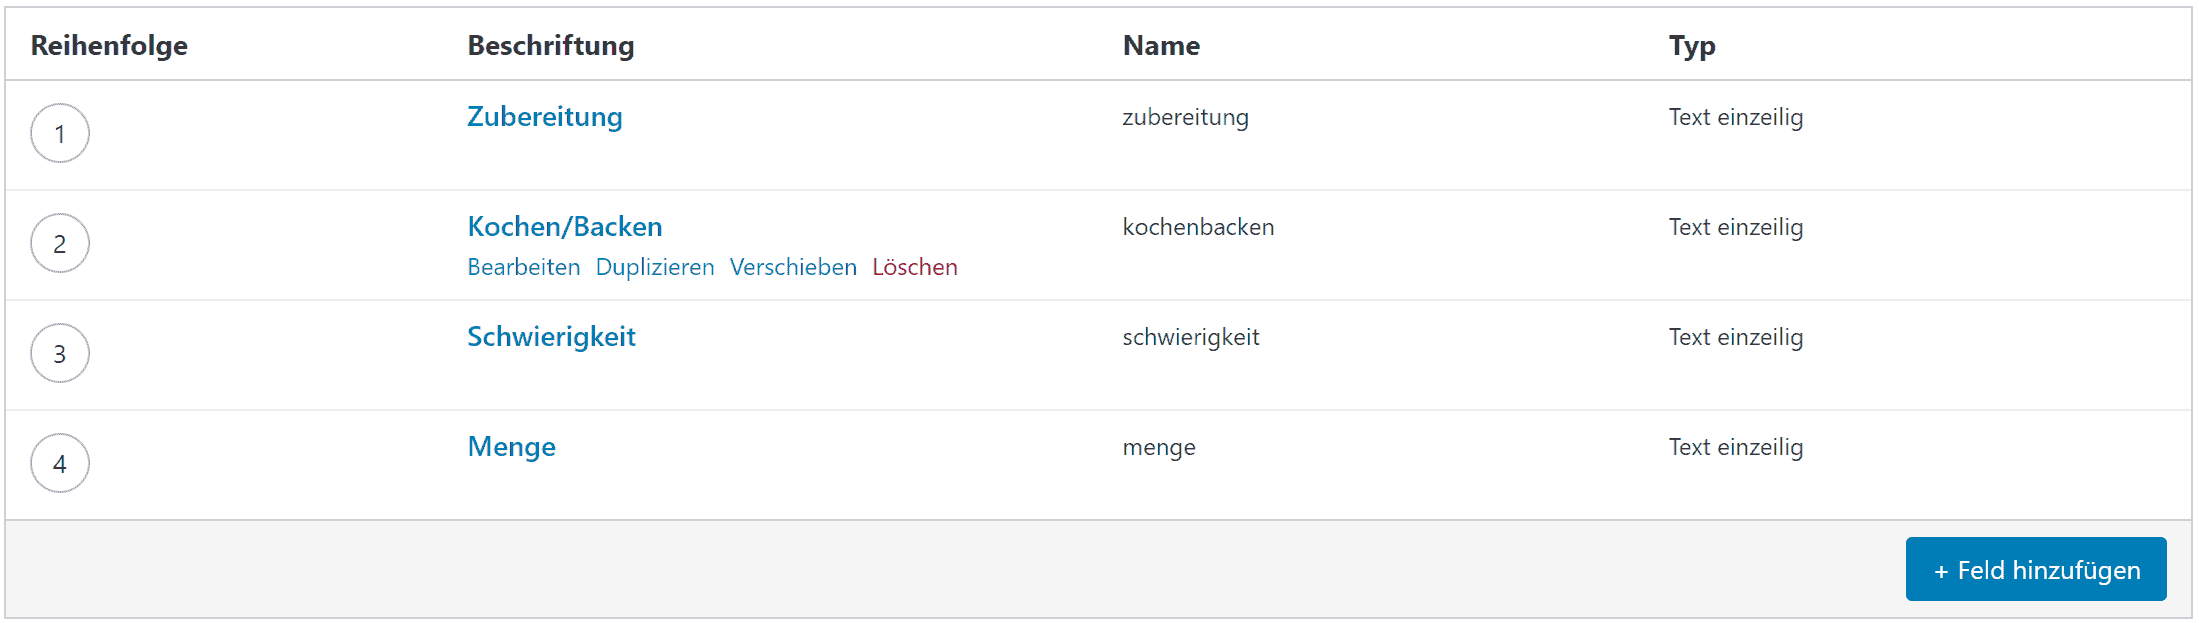
Once installed you can start off by creating custom fields for your posts. To give you an example I’ve included the fields I use on my food blog down below. These include items I use on every single recipe such as the subtitle, information on the recipe (time, difficulty and servings) and nutritional information. The latter two are actually groups and you can see the individual fields inside of one the groups in the second screenshot.
How to combine custom fields and GeneratePress
With the fields in place, we can edit one of our posts and start designing using GenerateBlocks. I suggest you start off by entering all the information as you’d want it displayed. Edit the GenerateBlocks settings to your liking and once you’re done we can move on to the custom fields.
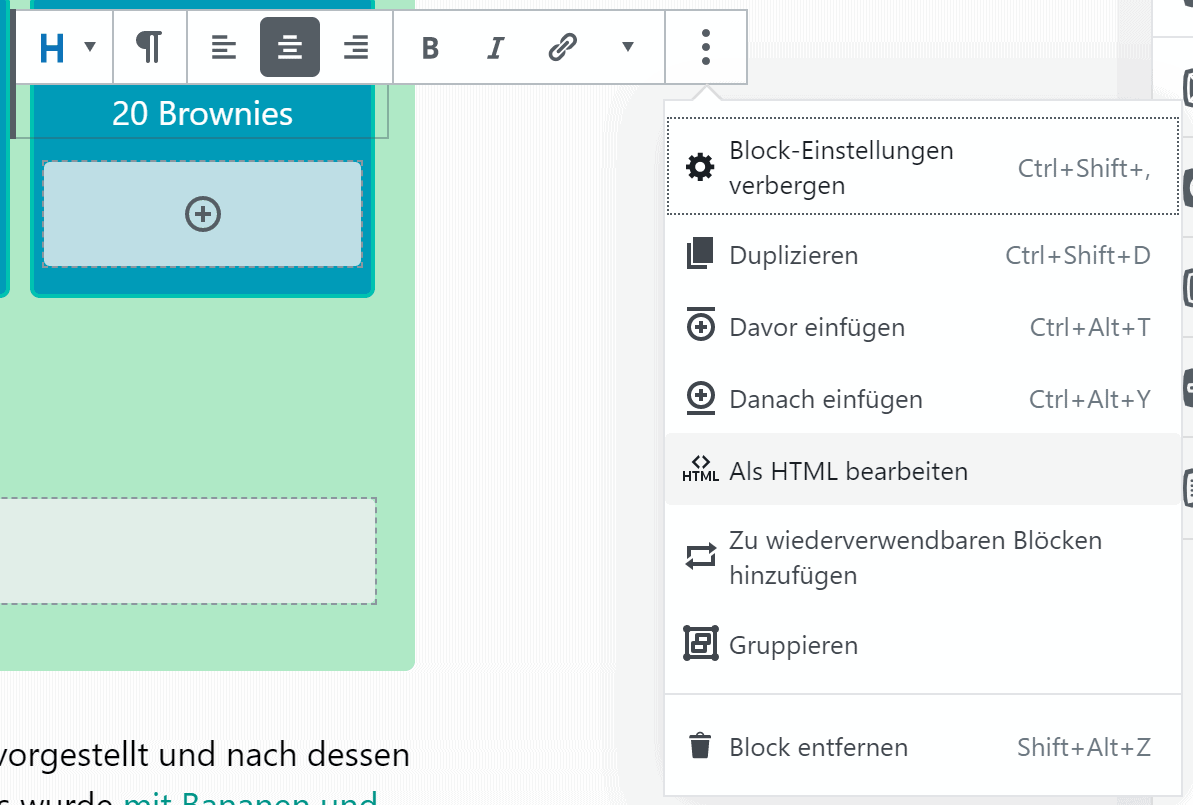

Select the text you want to be replaced by a custom field. Then select Edit as HTML from the block’s menu. The HTML code inside of the field will now be displayed (bottom screenshot).
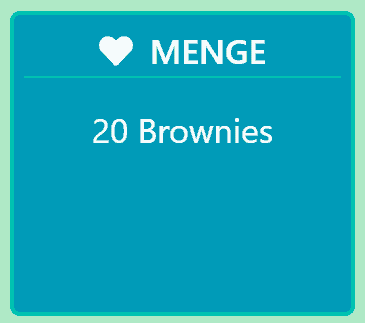
The part I want to be replaced with information from a custom field is the text. Which in this case would be 20 Brownies.
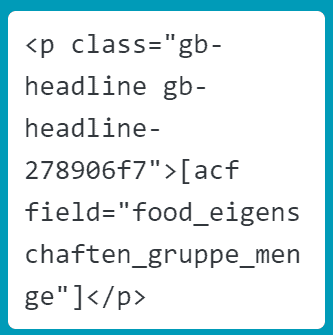
I can now replace the text with my custom field shortcode. In this case, it would be:
[acf field="food_eigenschaften_gruppe_menge"]Because my field is inside of a group I have to add the group’s name followed by the field’s name.
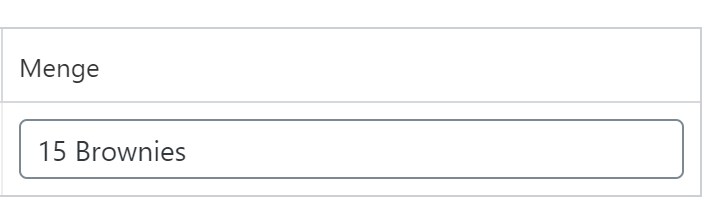
Custom fields will appear in the metabox at the end of the block editor. Here you can see one of the fields I’ve created earlier.
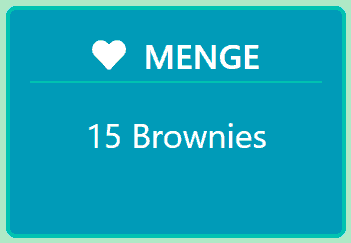
And just like that, the information I have entered into the custom field will appear on the frontend once I update the post. I can now save this block as a reusable block and insert it on any post I want. That way I only ever have to edit the custom field and the block will be updated automatically.

Have you found a way to insert URLs from ACF into GenerateBlocks hyperlinks?
Hey there. Sorry, I haven’t ever used URLs with ACF.
can you integrate these shortcode to Query Loop?
so that the post id is dynamic